
There are many benefits to All-On-X surgical efficiency. However, providers often assume that it takes hundreds of arches to reach a predictable, smooth AOX workflow.
While there is some truth to this, there are also a few things that even inexperienced AOX surgeons can do to instantly improve their surgical efficiency and the flow of their All-On-X cases.
Below I have listed 5 efficiency tips that you and your surgical team can implement tomorrow. This is a sample of some of the efficiency tactics I utilize with my surgical team.
5 AOX Efficiency Tips for You and Your Surgical Team
1. Utilize two AOX surgical assistants at all times.
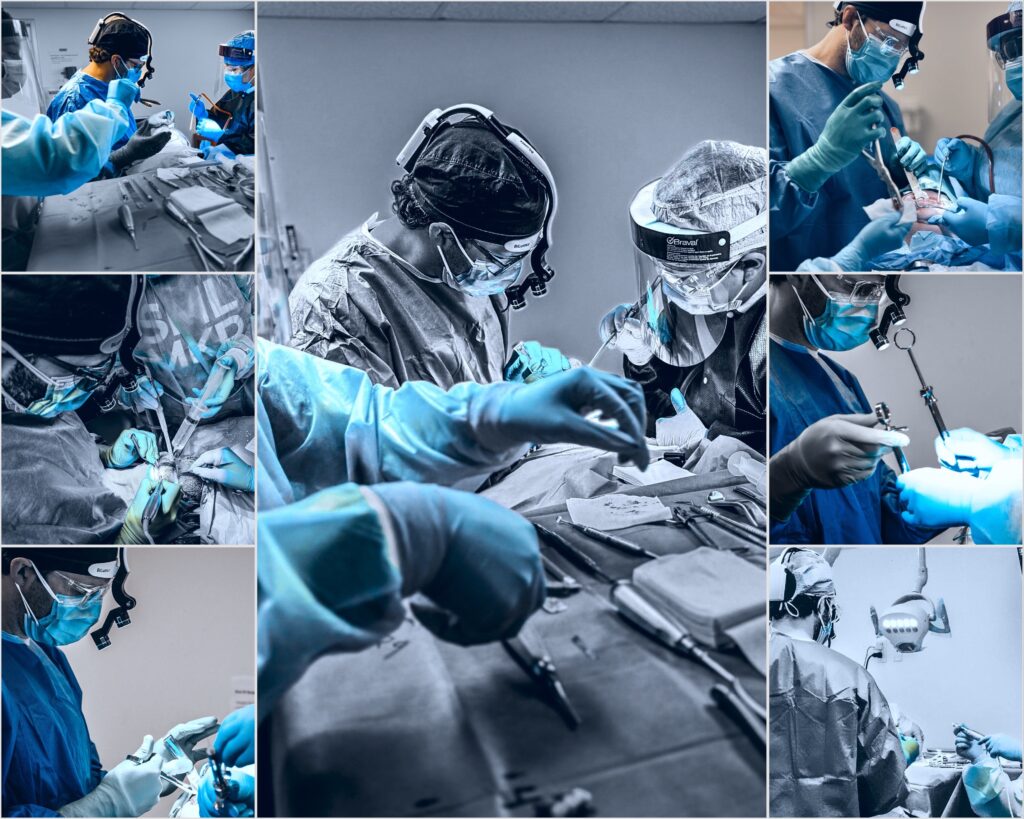
In order to optimize the AOX surgical environment for both surgeon performance and efficiency, two surgical assistants are required. For clarity, please note that I work with a CRNA that provides general anesthesia. Therefore, the surgical assistants mentioned are solely focused on surgical tasks and not on things such as “chinning” or assisting in airway management.
One chairside surgical assistant will help maintain a clear surgical field via suctioning and will also control direct vision of the surgical site via movement of the Orringer retractor. In addition, they help with obvious tasks such as irrigation and the passing of instrumentation.
A second surgical assistant will perform the “implant related” tasks. AOX surgery has many moving parts and pieces, such as multiple burs, drills, implants, abutments, and closure caps. All of these need to be kept organized and provided to the surgeon at the appropriate time in both an accurate and efficient manner.
In my experience, the “implant related” tasks cannot be accomplished in a proficient and/or efficient manner by either the chairside assistant or the surgeon. They therefore require the presence of a second assistant.
2. Pre-load and pass two drills.
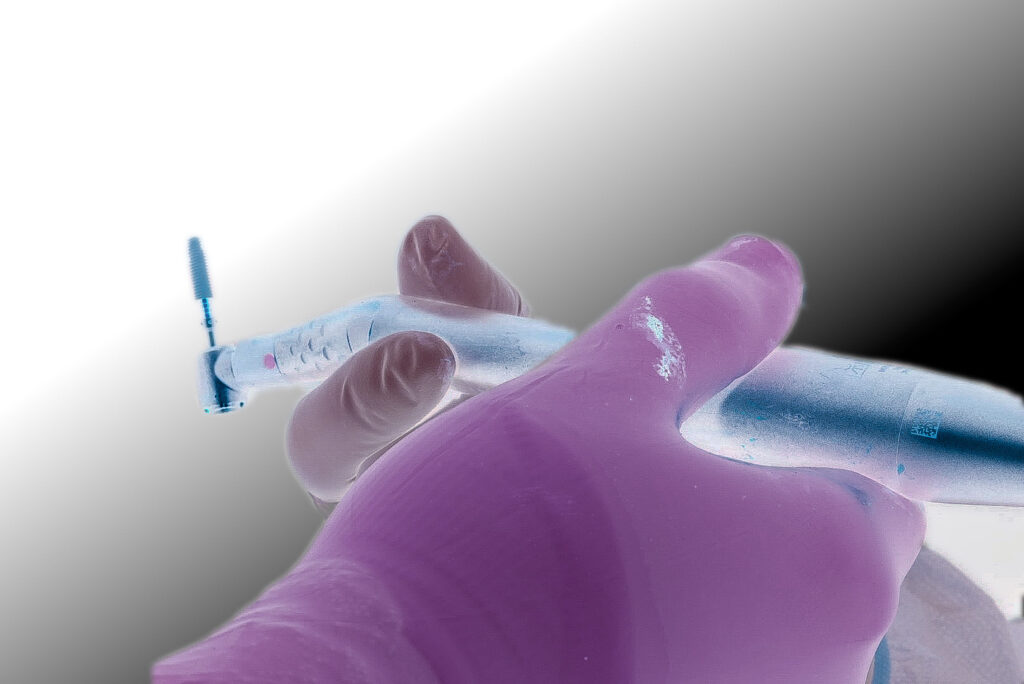
I have two contra-angle handpieces for each surgery. One is attached to the implant motor and drilling unit with the drill I am using at that time. For example, the starter drill.
I have a second contra-angle handpiece that my assistant has already loaded with the next drill I plan to use. For example, the 3.5 mm drill.
As soon as I am done with my starter drill, I hand my assistant the drill back and they “swap” the handpieces. This takes a total of 1-2 seconds. They then pass me the handpiece back, with the 3.5 mm drill attached. While I am using this drill, my assistant changes out the starter drill for the 4.0 mm drill and prepares to “swap” again with me when I pass back the drill.
This is simple, yet so effective. And if you don’t think it saves that much time, I challenge you to try it…
3. Pre-load and pass implants.
One habit I commonly observe, notorious for wasting time, is surgeons who load their own implants on the handpiece.
Stopping what you are doing surgically, turning your head from the field, opening an implant, loading an implant on the handpiece, and then repositioning yourself at the surgical site… takes a long, long time. Not to mention, you lose focus on your surgical field and disrupt your concentration.
I never load my own implants on the handpiece.
Loading implants is an inefficient use of my time and it distracts me from the surgical work I should be doing.
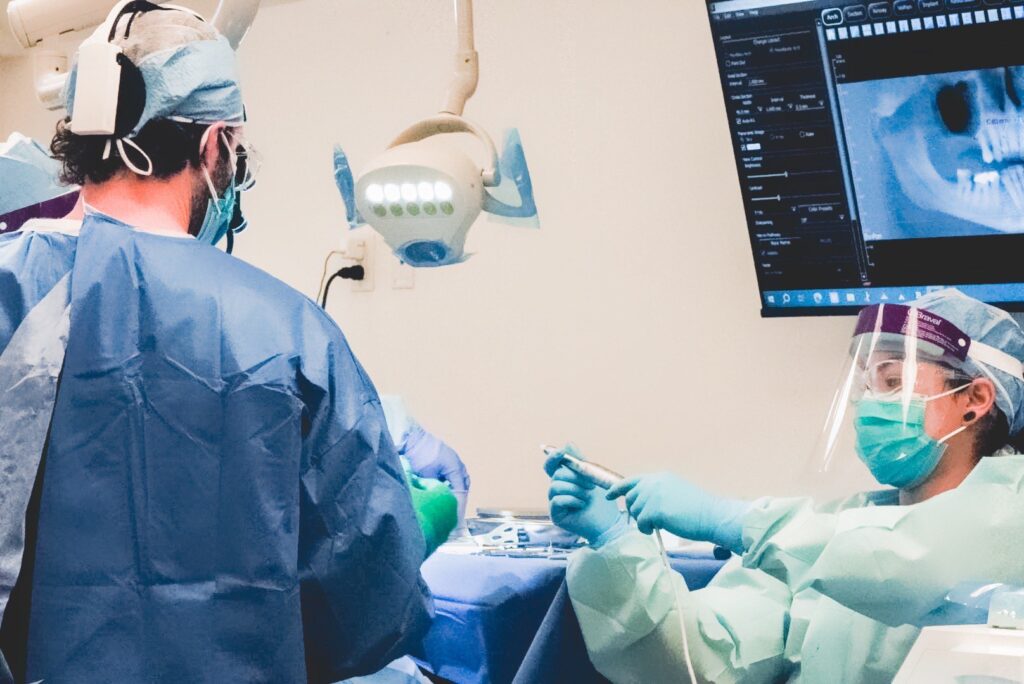
Before I finish drilling my osteotomies, I call out all the implant sizes I want for the arch/arches to my assistant. While I am finishing my final osteotomies they are opening the first implant and already have it loaded on the second handpiece, ready to go.
When I finish drilling I hand them the osteotomy handpiece, they swap it to the handpiece with the requested implant, and I move forward with implant placement. This is all done without taking my eyes off the surgical field.
4. Implement simultaneous work flow.
Learning to complete tasks simultaneously has a huge impact on efficiency.
Here’s an example of what I commonly see in other practices:
A doctor places an implant at an AOX site. The implant torques out. They then ask for the torque wrench and/or grab it themselves from the kit. The torque wrench is often assembled by the doctor at this point. The doctor then torques the implant down. They stop to admire their work for a second, and then look up at their assistant who says, “What implant would you like next doctor”? They say, “A 4×11.5 mm please”. At which point their assistant hands them the package and the doctor begins to open the implant…
Here’s an example of the simultaneous work flow we implement in our office:
I am placing an implant at site #4. While I am doing this, my chairside assistant has already prepared the torque wrench and has it held out in their left hand for me to grab when ready. While I am placing the implant, my second assistant is also opening the implant box for implant site #7 (as I have already told them all implant sizes for the arch).
The implant torques out. I hand the drill to my second assistant who loads the next #7 implant while at the same time my chairside assistant hands me the torque wrench and I seat the #4 implant. In the time it takes me to torque down the #4 implant, I expect my second assistant to have loaded the #7 implant and have it ready to hand back to me. Note that we typically do not “swap” handpieces during this phase because the assistant has enough time to load the new implant while I am torquing/positioning the previously placed implant.
After fully seating implant #4, I hand the torque wrench back to my chairside assistant, while the second assistant hands me the loaded implant handpiece. Note that with removal of the torque wrench, the driver often separates from the ratchet mechanism. Therefore, while I am placing my #7 implant, I expect my chairside assistant to simultaneously reassemble the torque driver and have it ready for use by the time I finish placement of #7 with the handpiece.
This simultaneous work flow continues all the way around the arch. The goal, as always, is that I do not have to take my eyes of the surgical field.
5. Have abutments ready prior to abutment placement.
If you’re not systematic, placement of abutments can take a while. Learning your implant positional tendencies and aligning your torque wrench indicators consistently to account for those tendencies will help ensure your abutments need minimal fine tuning.
However, this is only half the battle.
Getting the darn abutments opened, out of the package, and on the table for use can also take a frustratingly long time.
In order to offset this time constraint, I call out the abutments I will use while placing my last one or two implants.
The goal is for my assistant to have the anterior abutments opened and ready by the time that last implant is seated. While I am positioning and torquing the anterior abutments, the assistant is opening and preparing the posterior abutments.
Surgical efficiency has countless benefits for the patient, your team, and yourself. Well-oiled surgical systems make the All-On-X procedure smoother and more enjoyable for all involved.
These 5 efficiency tips are all examples of techniques that you can implement in your office – tomorrow.
Well, what are you waiting for?
Matthew Krieger DMD
Pingback: Benefits of Performing Reduction on BOTH Jaws Prior to Implant Placement - AOX Surgery
Pingback: 5 Reasons Practitioners Get Frustrated with Full-Arch Surgery - AOX Surgery