Archived Newsletter Re-Post.
The AOX Newsletter • February 2024 #6
I know, I know, it’s embarrassing right?
Your assistants are watching you struggle.
You’re trying to keep your cool.
But despite your best efforts, you cannot get the $#$%!# torque wrench driver to actually seat in the implant housing, so that you can finish torquing your implant down!?
You wonder, “Does this ever happen to anyone else?”
Believe it or not, yes it does.
I have been in this situation more than once. And every time I get equally frustrated.
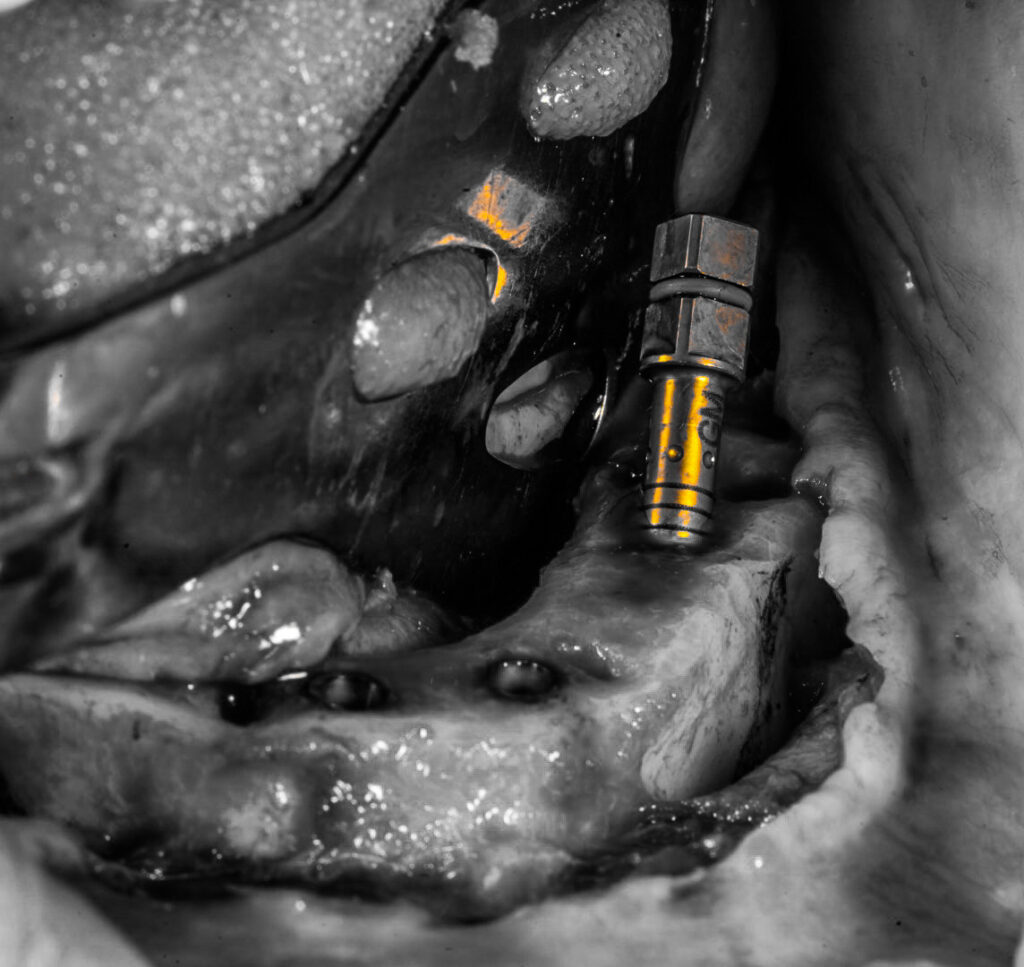
My handpiece delivers the implant 90% of the way. The implant torques out beautifully just above the crest. I turn to my trusty torque wrench to finish the job. But I cannot freakin’ get it to seat in the implant housing!? I wiggle it around left and right, again and again, but it won’t engage!
What now??
Well, here are a few solutions to this problem.
- Irrigate directly into the internal surface of the implant housing with forceful irrigation. Sometimes a small piece of bone debris can find its way into the implant and prevent seating of the torque wrench driver (or abutment for that matter).
- Remove the driver from the torque wrench and place it manually with your fingers into the implant housing. Then re-attach the torque wrench to the driver while it is still in the implant housing. As long as there is no debris, this always works!
- Use a longer driver for hard to reach places. My implant kit has both a standard and a long torque wrench driver. I find the long driver useful when accessing mandibular implants posterior to the foramen, maxillary palatal root implants, and pterygoid implants. The longer driver provides easier access to these implant sites as they are farther back in the mouth. With easier access and better angulation comes a much higher likelihood you will be able to fully seat the torque wrench driver in the implant housing in an efficient manner.
Here’s to avoiding that pesky, awkward, torque wrench trouble no one likes to admit to having…
Matthew Krieger DMD
“The first step in solving a problem is to recognize that it does exist.”
Zig Ziglar
Q & A with Dr. K

“How do you thin your maxillary soft tissue around abutments?” |
The short answer is, I do not.
With adequate bone reduction, I find that I rarely have to do any thinning of tissue around abutments. I “thin” or de-bulk maxillary tissue ~1-2x/100 arches.
I do utilize 2.5mm abutment heights ~95% of the time. This is adequate for prosthetic access, but not so tall that prosthetic space is encroached on.
*I will note that while I do not “thin” the maxillary tissue around abutments, I do almost always de-bulk the connective tissue found at the maxillary tuberosity.
I carry my bone reduction posteriorly the entire extent of the jaw.
Following reduction, I find that the excess connective tissue in this region will cause a “bump” during closure. While this is posterior to the prosthetic, I simply do not like the esthetic look of this and want a smooth, flat incision line the entire length of the maxilla.
Although it has little to no effect on abutment access, de-bulking the tuberosity tissue helps ensure there is an even, flat closure throughout the jaw.
Archived newsletters are released on a delayed timeline, a few months after the original publication. If you would like to receive these newsletters in real time please sign up here.


Can you expand on your technique for debulking the CT in the tuberosity area
Hi Ajay,
I will work on creating a newsletter or blog around this as I also think pictures would be helpful to show what I do. It’s a little harder to explain how I perform this technique in a short response here. But great question! I’ve added it to my topic list! Thanks!