
There are many things that make a great All-On-X surgeon.
That being said, the one most likely to make you restorative friends, keep your referrals flowing, and make you enjoyable to work with is the often underrated ability to actually put your abutments in an ideal or close to ideal restorative position.
I get it. It’s not always possible. And I am not saying my abutments are always perfect either.
However, as surgical providers we offer a less than ideal restorative option far too often for our referring colleagues (I am guilty of this too). Believe it or not…I even see this occur on a regular basis in fully guided cases.
I have been fortunate to work with many exceptional prosthodontists over the years and have learned a great deal from all of them. With their help, I have prioritized and dramatically improved my abutment positions and angulations.
This attention to abutment position helps optimize the restorative outcome, improve patient satisfaction, and most importantly – lowers the likelihood your referring colleague will be calling you bad names under their breath during the pick-up!
While not always an easy pill to swallow, as surgeons, we must remember that this is a prosthetically driven procedure. Not the other way around…
Before I share how I dial in my abutment positions, I would like to mention a few housekeeping items:
1. Always discuss with your referring provider what their preference is prosthetically. I have had slight differences amongst what referring providers prefer. Nothing drastic – but I try my best to give each provider what they want.
2. This article highlights Neodent implants and abutments. Why? Because that’s what I use…
That being said you can apply these basic principles to any implant system with some fine tuning.
3. AOX surgery is done in 3-dimensions. This abutment protocol works very well in my hands. However, I don’t know the exact anterior-posterior, buccal, or lingual inclination of your implants. You may find you need to adjust this advice slightly to suit your needs.
This article, however, will undoubtedly give you a good starting point.
Let’s start at the beginning…
What do I look for in my abutment positions?
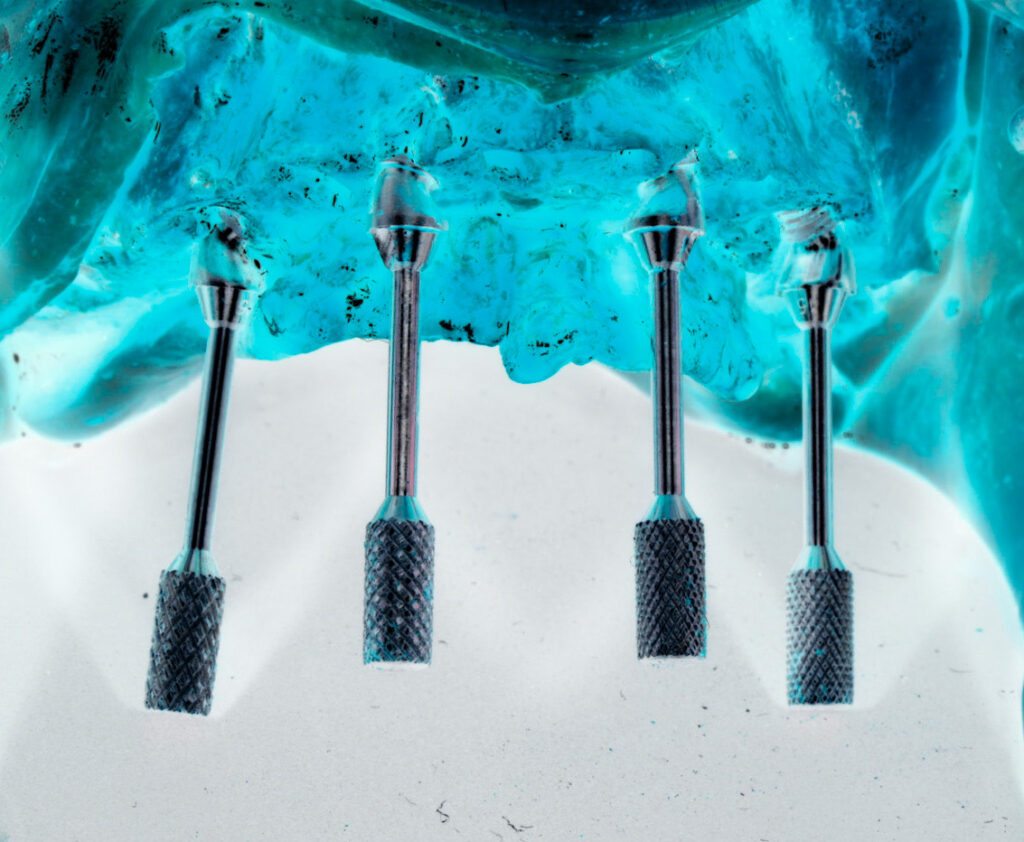
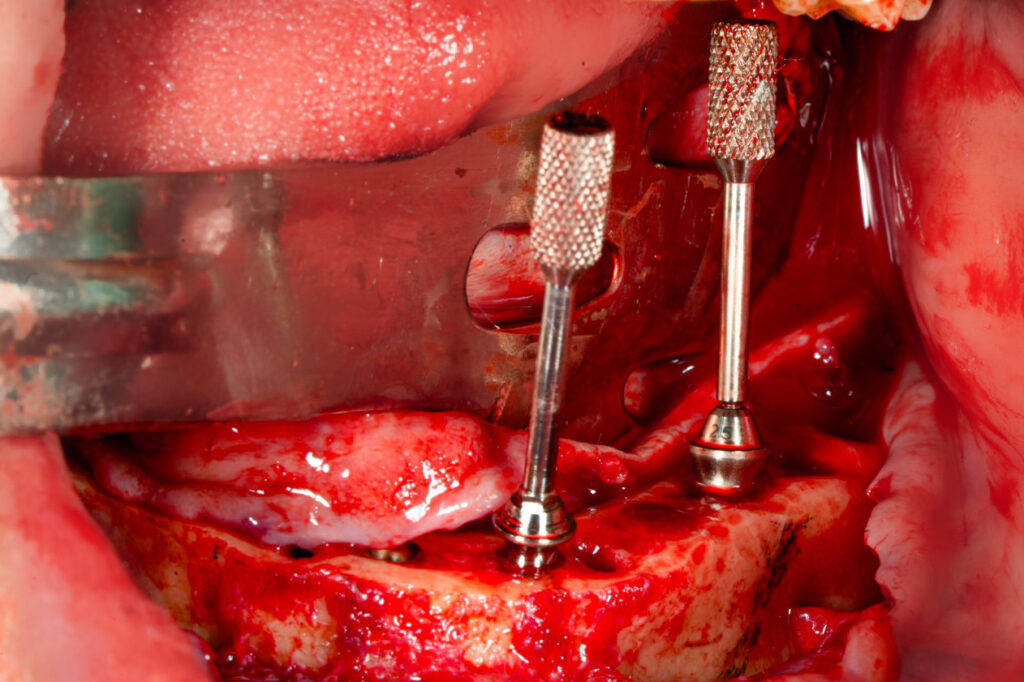
1. Enough parallelism between abutment paths of draw.
This ensures the prosthesis can actually be seated and that your implants can be restored with a full arch fixed prosthetic.
Why do I highlight the word enough?
For truly optimal screw access positions, it is rare that your implants will be completely parallel.
Due to the shape of the arch, ideal abutment positions will likely have some divergence of the implants. This is ok, and actually desirable, as it improves the screw access position. We just need to ensure the abutment angles are not too divergent and are still within the restorative envelope.
As a rule of thumb, however, your implants should look somewhat parallel.
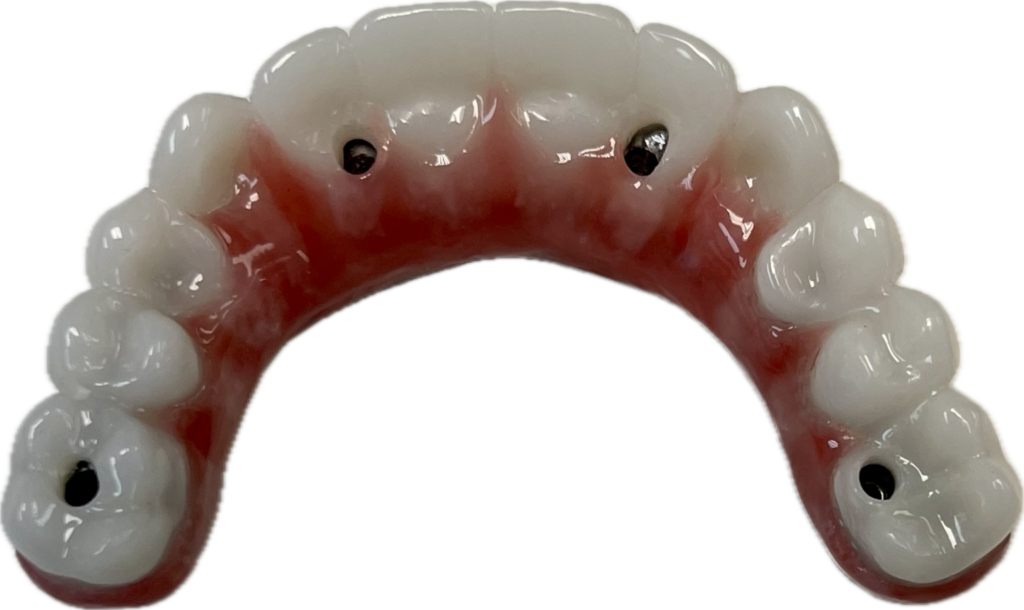
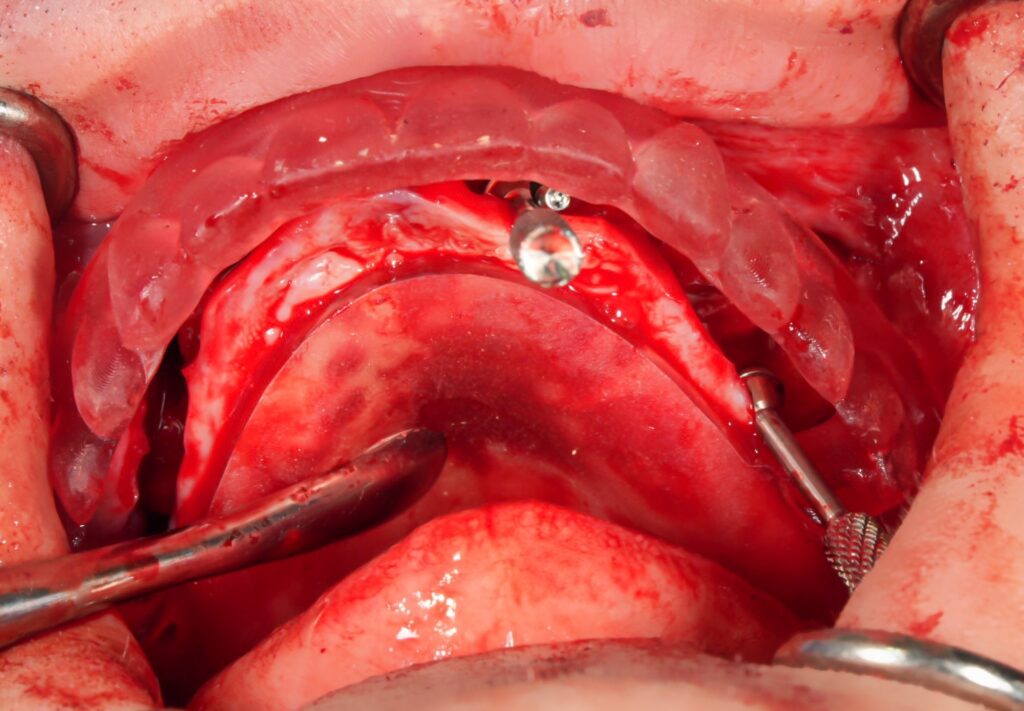
2. Posterior abutments exit at the prosthetic central fossa / center of occlusal ridge at the second bicuspid or first molar.
This allows for an ideal force distribution as the implant/prosthetic interface is centered over the direction of the occlusal force.
In comparison, if the screw access is too palatal, a buccal cantilever will be created.
This central fossa position also ensures the screw access is not visible from the buccal when the patient smiles.
In order to achieve this ideal position your posterior abutment guide pins will likely have a slight buccal divergence as compared to your anterior abutment guide pins.
3. Anterior implants exit at the cingulum of the prosthetic teeth.
This ensures the prosthesis is not too thick and helps with patient comfort and phonation.
It also prevents a large facial cantilever, which will occur if the implants are too palatal/lingual.
In order to achieve this ideal position your anterior abutment guide pins may have a slight facial divergence as compared to your posterior abutment guide pins.
So, How do I consistently…and efficiently achieve these abutment positions?
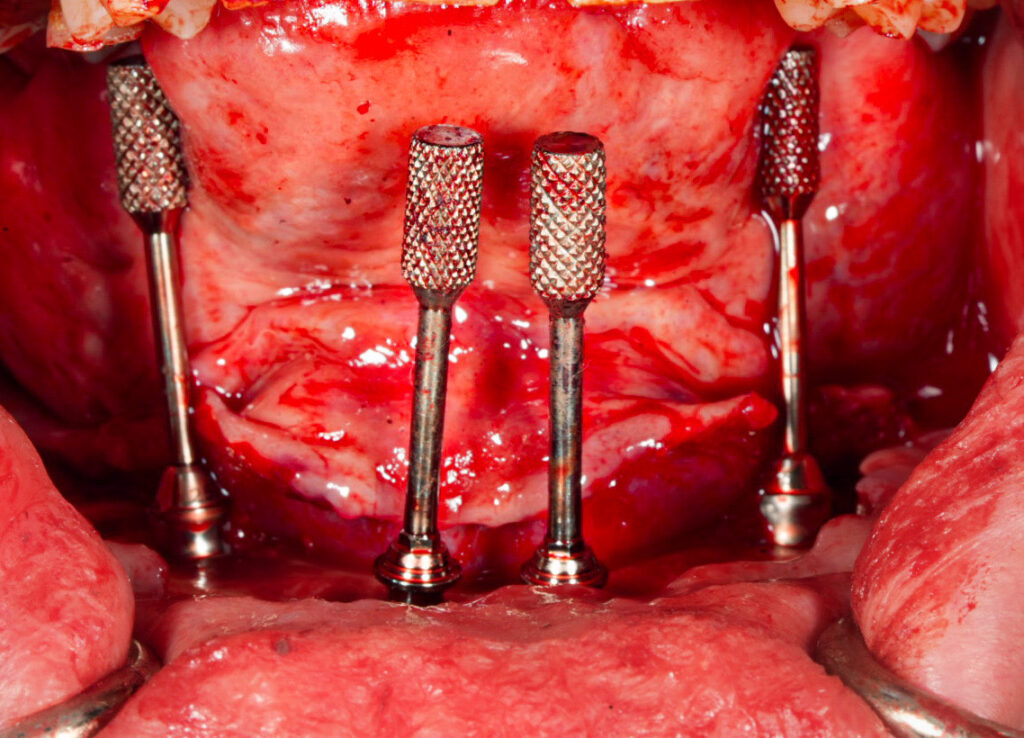
Maxillary and Mandibular Posterior Implants
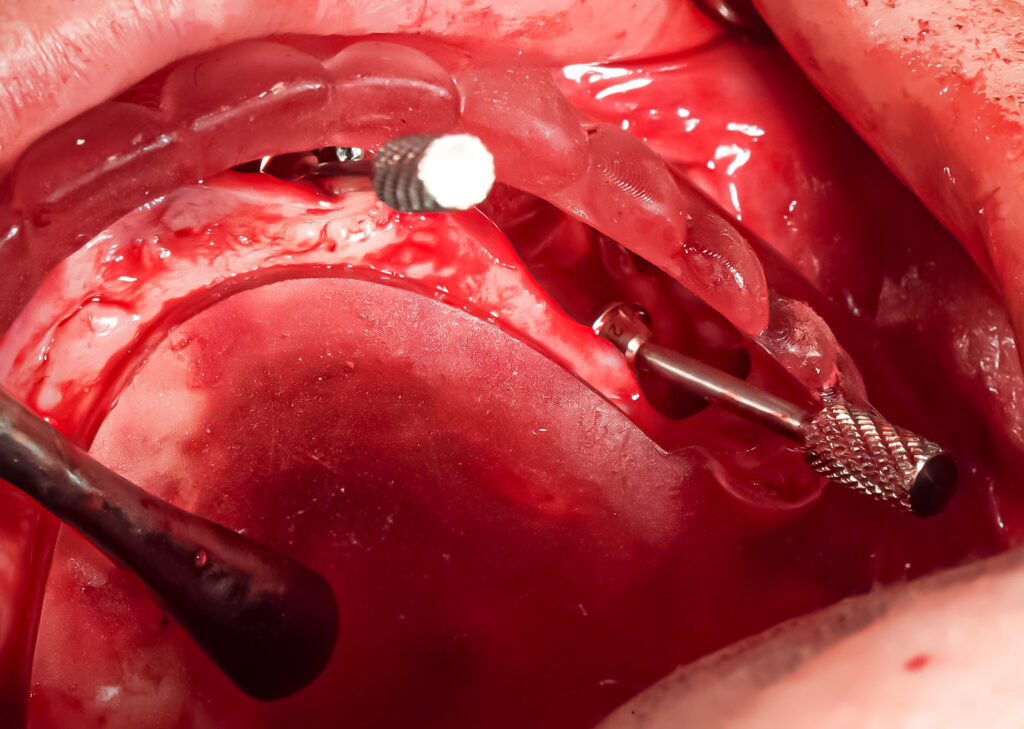
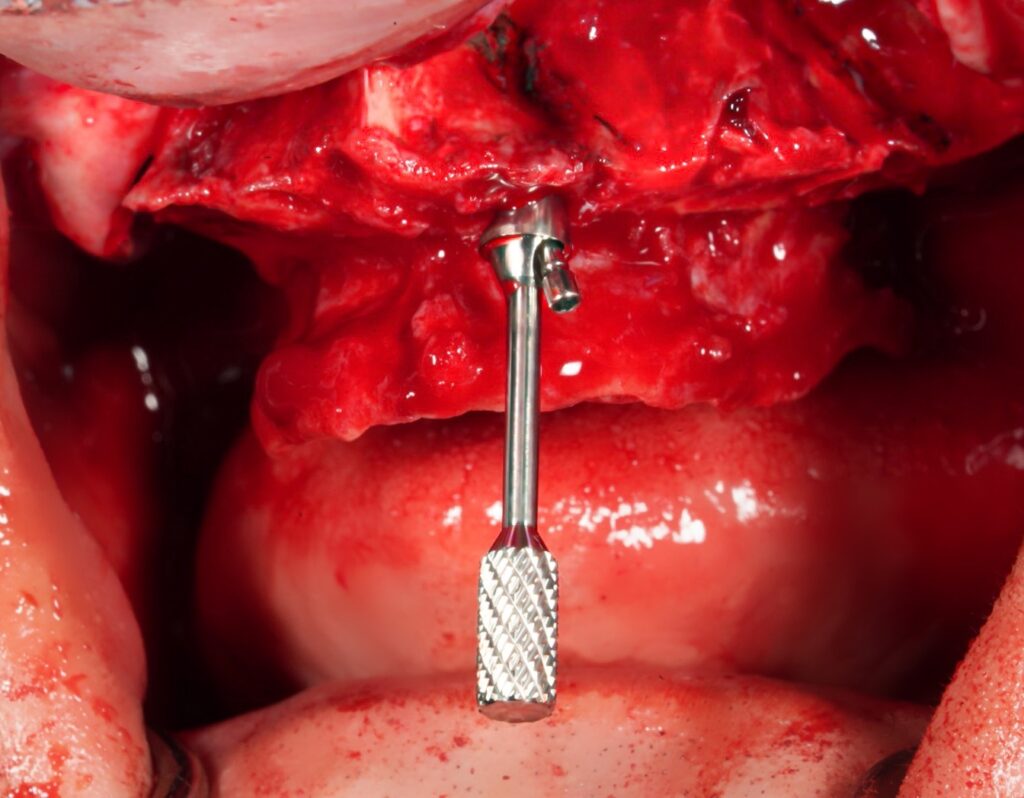
My maxillary and mandibular posterior implants are angled at either 30 or 45 degrees depending on patient anatomy.
If a 30 degree placement is completed, the implant is torqued to a final position so that any one of the dots on the torque wrench are positioned facing down the alveolar ridge but slightly lingual/palatal.
If a 45 degree placement is completed, the implant is torqued to a final position so that two of the dots on the torque wrench are positioned evenly splitting the alveolar ridge.
This same protocol is carried out for pterygoid implants (normally a 45 degree abutment in my hands).
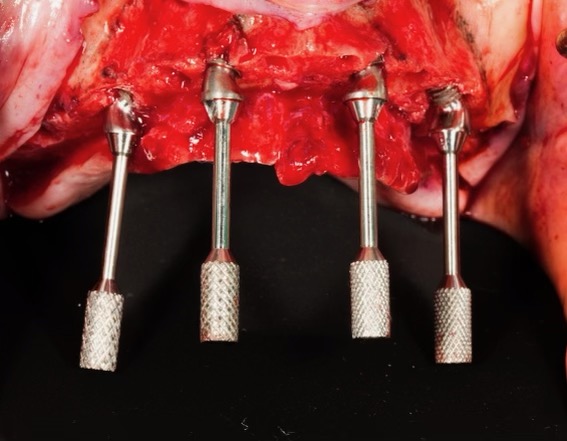
Maxillary Anterior Implants
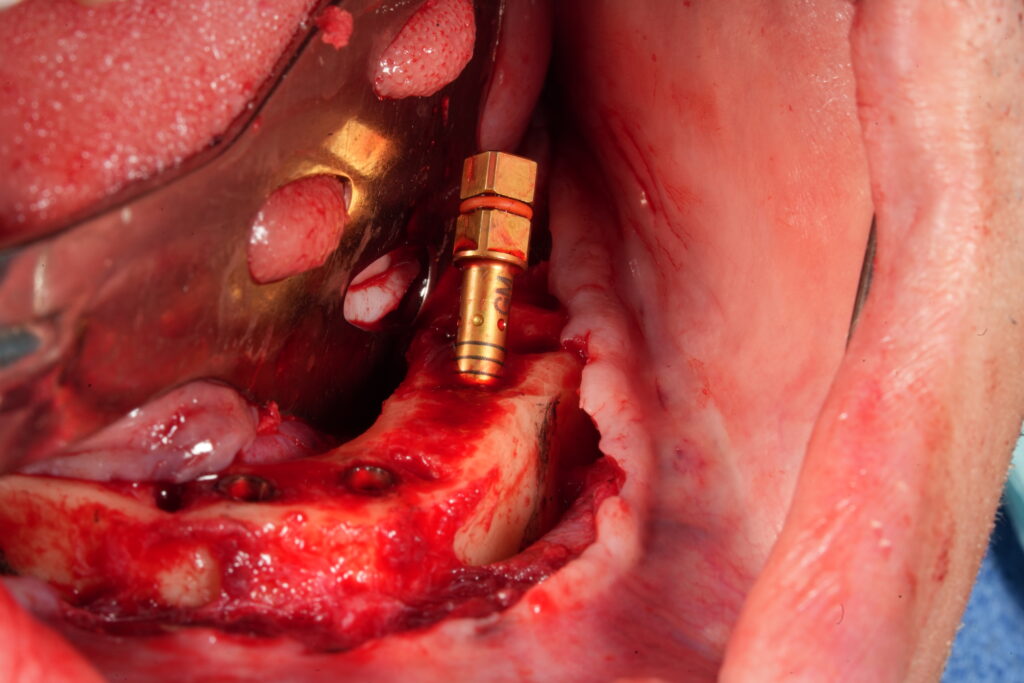
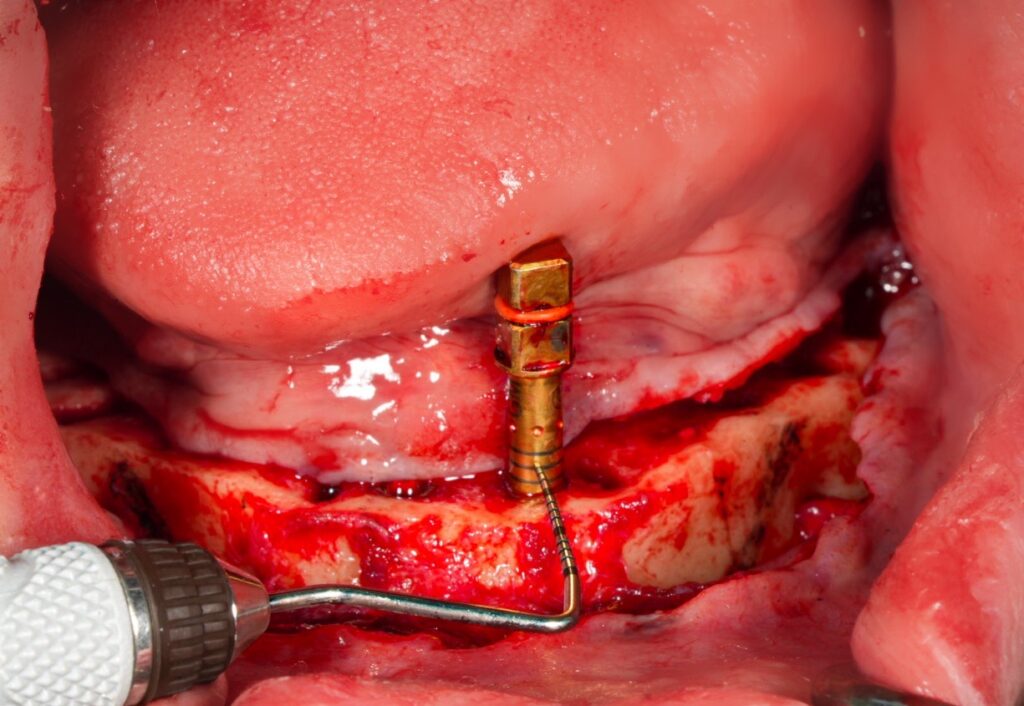
My maxillary anterior implants are placed at 17 degrees in an “Inverted V” configuration. They are typically placed within the lateral incisor socket to ensure placement is not too palatal.
The implant is torqued to a final position so that any one of the dots on the torque wrench is positioned facing straight forward out of the alveolar ridge.
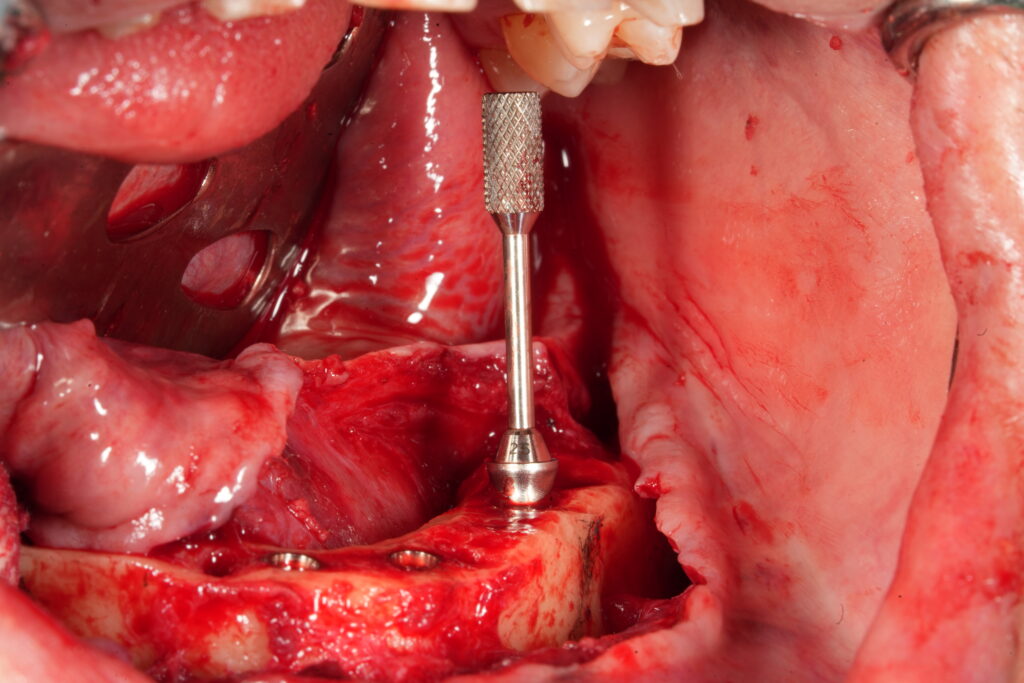
Mandibular Anterior Implants
My mandibular anterior implants are placed in a vertical and parallel configuration.
The implant is torqued to a final position so that any one of the dots on the torque wrench is positioned facing straight forward out of the alveolar ridge.
Many surgeons do not care where the “dots face” on a straight implant because it does not change the position of a straight abutment.
This is true.
BUT you can score wonderful points with your prosthodontist by ensuring the dot is straight forward. Why?
IF the restorative provider has to change the abutment to a 17 degree in the pick up – your implant is now PERFECTLY positioned to have the 17 either to the lingual or facial in an ideal position. You’re welcome 🙂
I spent countless hours struggling with abutment positions before slowing down and taking the time to learn how my implant angulations related to my “implant/torque wrench driver indicators”…and subsequently how that affected my abutment positions.
Taking time to learn and understand how your implant driver indicators relate to your abutment positions will save you hours of stress and intra-operative surgical time.
I hope this article makes your AOX life easier and garners you favor and extra referrals from your colleagues.
P.S.
If you use a different implant system, you can apply these same principles to your own “indicator system”.
Take the time during your implant placement to note where your torque wrench stops and where the “indicators” are positioned.
When you have achieved an abutment position you are happy with – make note of this indicator position and try to mimic it each time.
It should be different for a 17, versus a 30, versus a 45 degree implant angulation.
Attempt to be consistent with the angles and position on the ridge that you place your implants. This will allow you to consistently finish torquing down your implant while positioning your implant driver “indicators” in a way that allow for optimal abutment placement…with minimal, if any fine tuning of the implant position.
Here’s to being on the money…
Matt Krieger DMD
Pingback: Arch Goals: A Master Guide to Your First 1000 Arches - AOX Surgery
what is your preference MUA Hight , and due place implants sub crestal or at the crest
thank you, you are amazing
1. 2.5mm height MOST of the time for Straight/17/30 degree abutments. This is what I use 95% of the time. There are rare occasions where I will use a 1.5mm. I almost NEVER use a 3.5mm. If the tissue is truly that thick I try to thin the tissue out. ***When I use a 45 degree abutment I almost always use a 1.5mm height – this is because the 45 degree abutment (at least with Neodent) is inherently taller. The 1.5mm – 45 degree matches closely with a 2.5mm height for the other angulated abutments.
2. I typically place at a crestal level. Remember though that since virtually all of my implants are angulated – ONE portion of the implant will be crestal and ONE portion will be subcrestal. If you place the WHOLE implant subcrestal the angulated portion will often be TOO subcrestal and you will have trouble seating your abutment without impinging on bone.
Pingback: The Rule of 10’s: An AOX Mental Timeline for Success - AOX Surgery
Pingback: 5 AOX Efficiency Tips for You and Your Surgical Team - AOX Surgery
Thank you for sharing this tip following the dots. I use the same system and I think I got it, do you have any literature or any other drawing related to it. Actually, what do you exactly mean when you say “facing down the arch”?
This is somewhat difficult to describe via text and even with photos, the angle of the photo changes the perception of the angle or direction the dot is facing. But nonetheless, I will try to see if I can come up with some additional images or drawings that might better show/describe this process. I will place them in an upcoming AOX Newsletter (sign up on the website if you haven’t already). Thanks!
Pingback: Abutment Placement: A Strategic Sequence - AOX Surgery
Pingback: The Most Difficult AOX Patient to Please - AOX Surgery