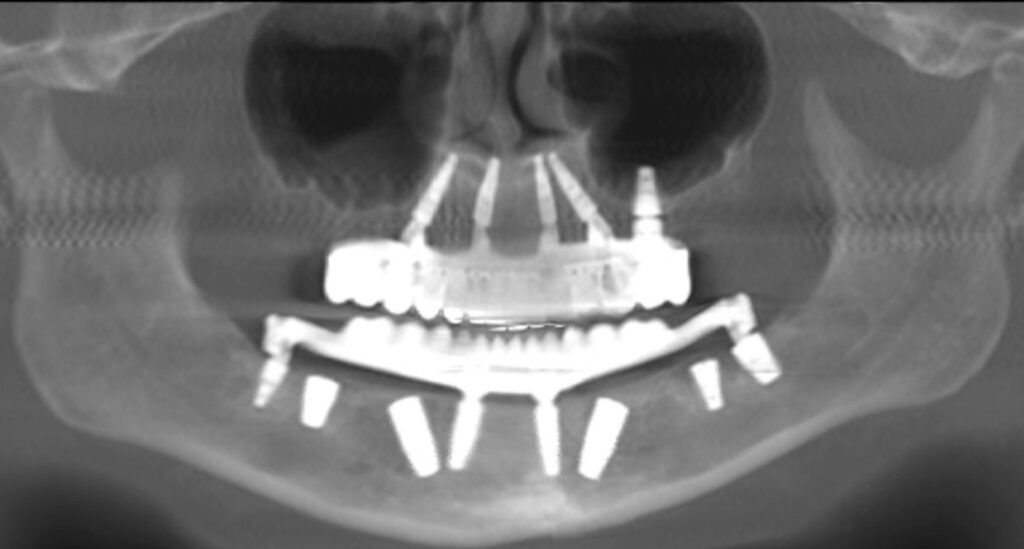
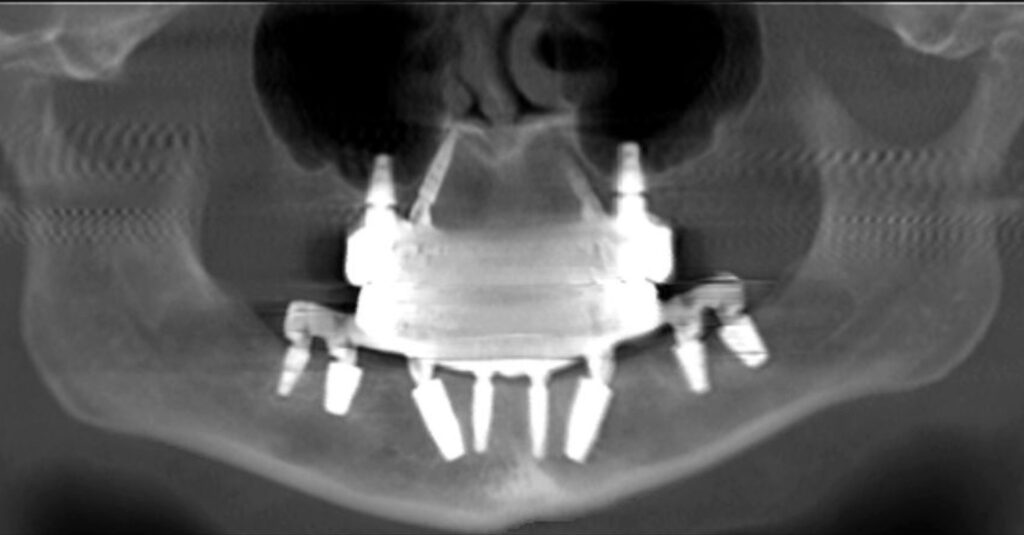
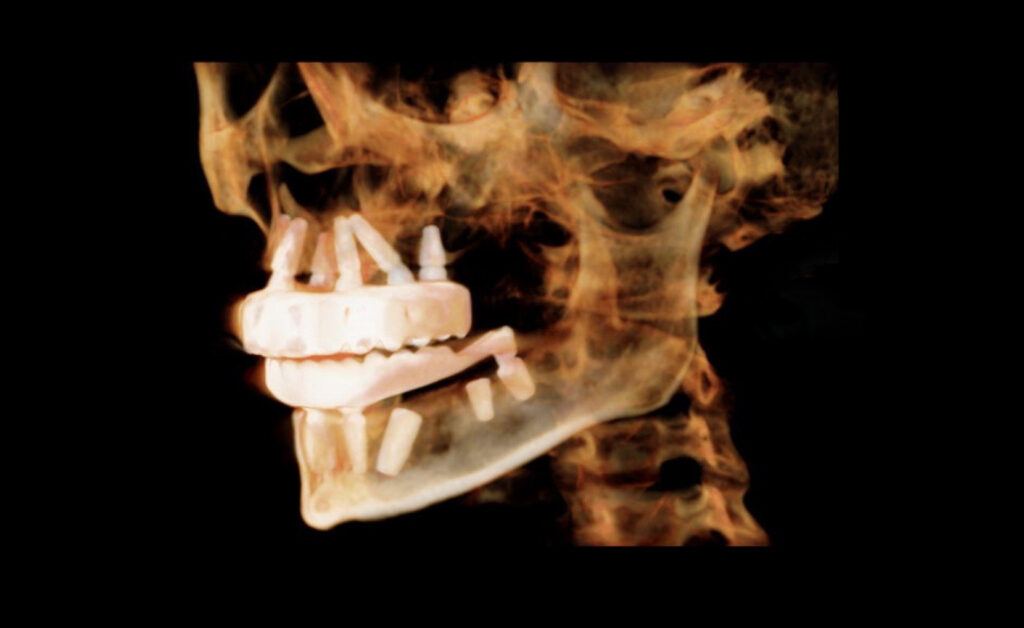
I almost always load all of the AOX implants in my arch at the time of initial surgery.
In the vast majority of cases, I am confident in achieving adequate and loadable torque, and I also trust the cross-arch stabilization of the prosthetic.
Furthermore, I attempt to avoid delayed loading of an implant as this creates a secondary surgery for the patient, as well as increased overhead expenses for either the patient or the practice.
If I am going to put the patient through additional surgery and/or increased expenses, I want to ensure that they are actually being provided an improved surgical outcome as a result of that delayed load.
While rare, listed below are the scenarios in which I feel burying an implant actually does improve the surgical outcome for both the patient and the surgeon.
5 Rare Occasions I Prefer to “Bury” an AOX Implant
1. Total failure of all implants in an arch.
To date, I have had 3 arches that presented in the post-op period with a total failure of all implants in the arch. This is not too bad considering that is out of a total of almost 1700 arches. But… it’s 3 more failures than I’d like to have under my belt.
Nonetheless, I have learned that in a total failure case, it is best and most predictable to remove the failed implants, replace new implants, graft as necessary and then bury the newly placed implants for 4 months.
During this delayed load, the patient is provided a removable prosthetic. Implants are then uncovered and loaded at the 4 month mark.
What is the rationale behind this strategy?
A total arch failure is likely due to one of three things:
- A poorly made prosthetic.
- An immune compromised state (or medication related suppression).
- Severe bruxism.
If the reason for failure is a poorly made prosthetic, the prosthetic could theoretically be adjusted/improved and then immediately loaded following new implant placement. However, it can be difficult to know for sure if that is truly the reason for the total failure.
Pinpointing which of the 3 scenarios listed above caused the failure with absolute certainty can be very difficult.
However, what I do know with absolute certainty, is that burying the newly placed implants will improve and/or eliminate all 3 of those potential problem scenarios during the integration period.
For this reason, I bury a second attempt at a total failure case.
2. History of multiple implant failures (but not total failure) and/or history of a single implant failure multiple times.
In patients that present with this scenario, I always want to remove and replace the failed implant/implants, while still getting the patient out the door with their prosthetic loaded.
However, sometimes it is unclear exactly why they are having multiple failures.
In these cases I find it very advantageous, when bone availability allows, to add a single additional implant (typically a small/short implant) in the vicinity of the failure and bury it.
This is done in addition to removing and replacing the failed implant with an immediately loaded implant.
Another similar alternative, is to load the short, often posteriorly placed implant and bury the “replaced” implant. The point being, that the patient gets a loaded prosthetic – but has a buried implant healing in the area with a history of failures.
This surgical technique provides me a sense of peace knowing that the patient is able to wear their prosthetic with the newly loaded implant, but that I also have a protected implant healing in the problem area should another failed implant develop down the road.
3. The implant torque is 20 N-cm or less and the *implant cannot be moved or redirected.
I do not like to load implants with a torque of 20 N-cm or less. This is primarily for three reasons:
- I am confident that with a change in technique and/or moving the same implant elsewhere, I can generate more torque.
- With a torque value of 20 N-cm or less, there is a possibility that the implant rotates when torquing the abutment screw, since the abutment screw itself should be torqued to 20 N-cm (*dependent on your implant system recommendations).
- And, I hate to say it.. but I don’t trust the restorative team to ever so “gently” handle these implants the same way I do at these lower torque values.
The key to understanding when I will bury these implants, is the small asterisk * denoting that the implant cannot be moved or redirected. My first goal is not to bury the implant. It is always to move or redirect that same implant to generate more torque.
For instance, if I have a 4x13mm implant at site #13 that only generates a torque of 15 N-cm, but I also have an available palatal root socket at site #14 – I would do the following:
- Remove the 4×13 and move that same implant anterior toward denser bone in the canine region while under-prepping the osteotomy to improve torque.
- Add a palatal root implant at site #14 for posterior support.
- Load all implants.
In this way, I am able to achieve adequate torque and immediately load the arch – and I did not waste/discard an implant or need to bury an implant.
Now, in a similar but slightly different scenario, let’s pretend that we have an atrophic arch and there are no other traditional sites that are usable beyond the #13 site. Furthermore, I cannot increase my implant diameter beyond the 4x13mm implant size due to atrophy in the arch – and the torque is again only 15 N-cm.
In this case, I would look to add a pterygoid implant at site #16. With placement of the pterygoid implant, I would then load the pterygoid and bury the low torque implant at site #13. I would then plan to uncover and load site #13 in 4 months.
In this scenario, I could not “move or redirect” the #13 implant, and a larger implant to improve torque at this site was not possible, so the decision was made to maintain what I had already achieved – and bury the implant.
4. Good bone volume, but incredibly soft bone.
There are a few cases, once in a blue moon, where the bone is soooo incredibly soft that even though I have obtained a loadable composite torque – I am worried about successful implant integration with an immediate prosthetic.
Fortunately in these incredibly soft cases – there is usually an excess of bone. These patients typically have large cancellous bone cavities – which is why they present with a lack of bone density. On the other hand, since they present with large cancellous bone cavities, bone availability is not a problem. They simply lack density.
In these patients, I typically place 6 implants out of necessity in order to achieve a loadable composite torque. Furthermore, remote anchorage techniques such as utilization of the pterygomaxillary pillar and piriform rim are often employed.
Because bone density is low, yet there is an excess of bone volume – I will also consider burying an additional short implant, typically posterior to the bilateral mental foramen and in the bilateral posterior maxilla as well. These may bring the total implant count to 8 in the arch, with 6 loaded and 2 buried. *Note that this is incredibly rare. I have done this to date on 5 arches out of ~1700. But I do utilize this technique when I feel it is indicated.
The additional buried implants typically have a torque of 10-15 N-cm in these extremely cancellous cases. However, they once again provide me peace of mind that an implant is integrating without prosthetic forces in the setting of an extreme lack of bone density.
These buried implants virtually always heal wonderfully. This surprising consistency is a reminder to me that not loading… is very predictable.
I prefer this rarely used technique in extremely cancellous cases because if there is a problem with integration, it is next to impossible to perform a remove and replace and immediately load the newly placed implant. Having an implant that is already integrated takes away this stress and allows me to keep these patients immediately loaded should a future problem arise.


5. An existing, integrated AOX implant presents with bone loss that requires intervention.
When, why and how I will intervene and treat an AOX implant with bone loss is a complex topic that requires its own article.
However, I will say that if treatment is indicated and the existing integrated implant is determined to require a bone graft, I will perform the following:
- Remove the abutment and place a cover screw.
- Place particulate graft and PRF at the defect site.
- Place a collagen membrane (or the most appropriate membrane) over the graft site.
- Primarily close the graft site and bury the implant for ~4-6 months in order to allow optimal conditions for graft healing.
- The patient is either loaded on the remaining implants temporarily and/or an additional implant is added if necessary to maintain immediate loading.
I have found that attempting any sizable bone graft for an existing AOX implant while the implant is under load with an abutment in place – is unpredictable and results are marginal at best. I believe this to be due to the oral communication at the abutment/graft interface.
However, burying the implant and allowing for primary closure and healing of the graft for 4-6 months provides great, predictable surgical results.
While we often like to pride ourselves on immediately loaded implants and prosthetics – there are a few, albeit rare times, where our patients may be better served with a delayed or buried approach.
In my opinion, the key is understanding why you are performing a delayed load and using this technique only when it provides increased value to you and your patient.
Matthew Krieger DMD
P.S. For reference, I probably bury an average of ~1 implant per 40-50 arches. And less than 1/2 of those are actually uncovered at the 4 month mark – but are left as a “back-up” for the reasons provided above.


Pingback: Twenty AOX Pearls, Thoughts, & Reflections - AOX Surgery