
All-On-X Surgery has a lot of moving parts, pieces and skill sets. It’s easy to get lost in the surgery and before we know it we are 2 hours, or more, into our single arch case!?
But, how did we get here? Why is it taking sooo long?
I’m an advocate that a quality, routine 4 implant AOX case, should average 60 minutes per arch or less. Why? Efficiency matters. There are many benefits to AOX surgical efficiency that you can read more about here.
Achieving this consistent level of efficiency requires three principle surgical assets:
1. AOX experience and a strong surgical skillset. This does not happen overnight and will often require a few hundred arches or more to reach this consistent level of proficiency.
2. A strong, well trained, unified surgical team that allows you to focus entirely on the surgery. As surgeons, we cannot achieve this level of efficiency by ourselves. It simply does not work.
AOX surgery is a team sport, whether we like it or not.
3. The mental ability to break the AOX procedure down into small, predictable, repeatable steps that are not overwhelming. We need to prioritize and execute small manageable steps over and over again.
We cannot afford to get lost in the surgery as a “whole”.
In this article, I want to focus on surgical asset #3. The mental ability to divide the procedure into small, manageable portions that allows the surgeon to stay on track. This is a skill that can be learned and mastered.
The Rule of 10’s: An AOX Mental Timeline for Success
Haven’t heard of this before? Neither have I. I made it up. But this is how my mind breaks down each surgical case and allows me to stay on track throughout the day.
There are days when I have 5, 6 or even 7 arches on the schedule. I have to take small, digestible, “mental bites” out of those surgeries or the day will quickly become overwhelming.
I have surgeries that range from 30 minutes per arch to 90 minutes per arch depending on complexity and how many implants are indicated etc. But my average arch time to completion is just under 60 minutes and this is quite predictable for a routine, 4-implant case.
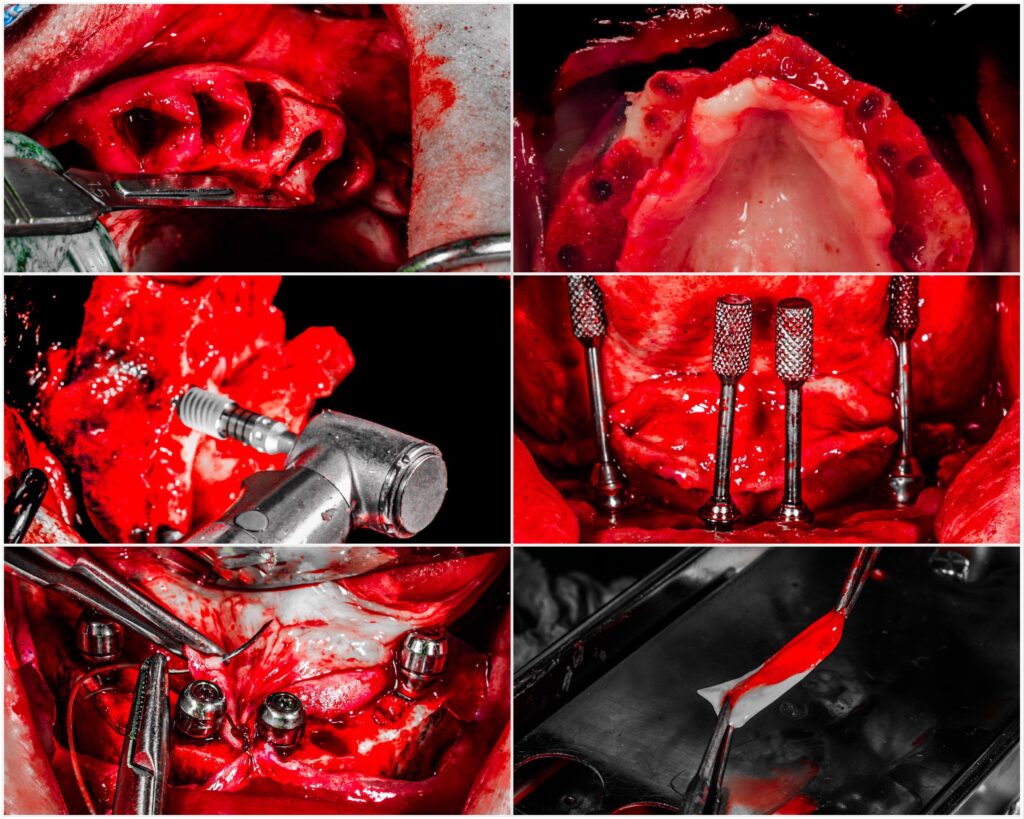
In order to consistently stay on track during surgery, I mentally break the AOX procedure down into 6 small surgical steps, each allotted 10 minutes. The sum of these 6 steps is a 60 minute arch.
The Rule of 10’s
1. Extractions, Incision and Flap Reflection (10 Minutes)
The majority of AOX patients have a failing dentition and multiple missing teeth. Yes, we’ve all treated the bruxer with 14 teeth per arch, each root canal treated and crowned… but that’s not the norm.
Typically, teeth in the arch can be extracted in 5 minutes or less, providing an additional 5 minutes for incision and flap reflection.
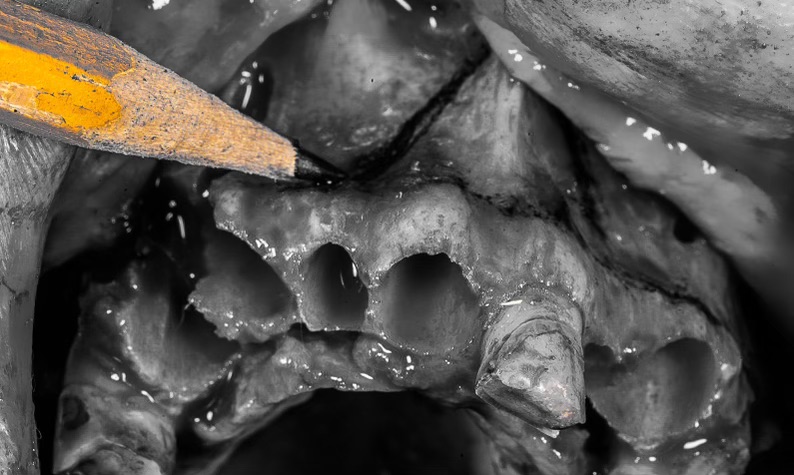
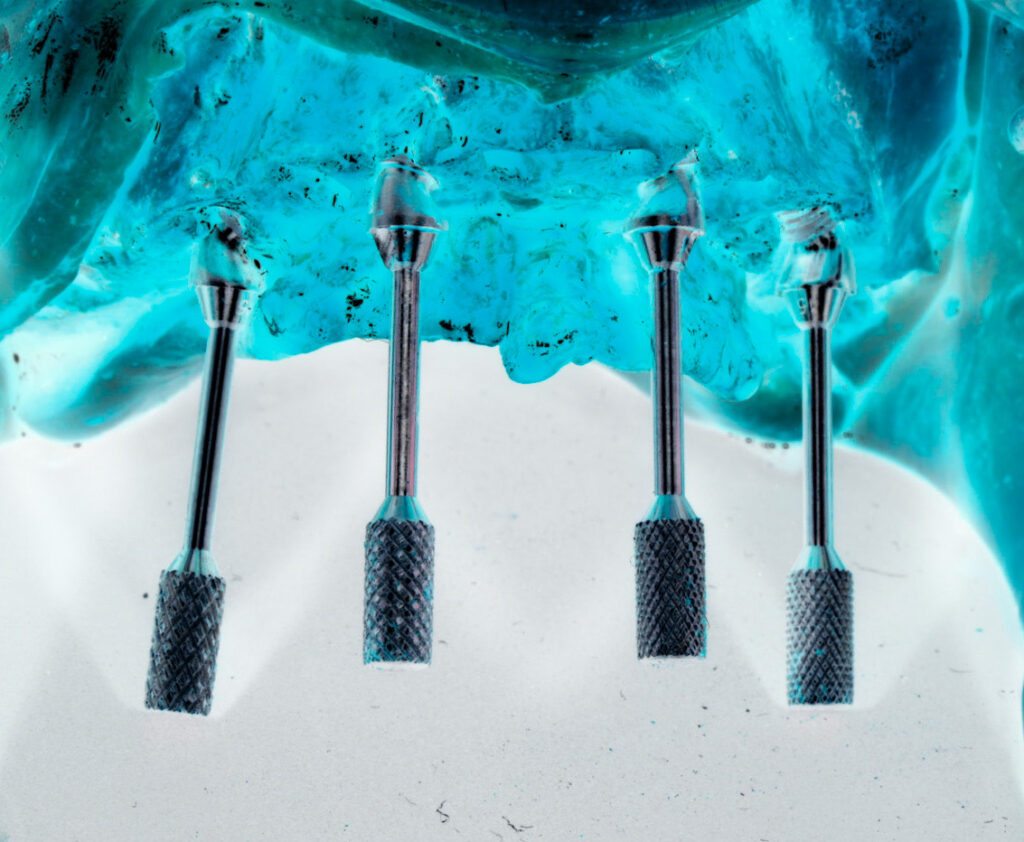
2. Implant Sites & Reduction Line Marked, Bone Reduction, Bone Check (10 Minutes)
The second ten minute block allows for marking both the planned implant sites and the reduction line with a sterile, surgical graphite device. After these have been marked, the bone reduction is completed.
During this 10 minute block, I also have the prosthodontist I work with clinically confirm that the completed bone reduction is adequate for the planned prosthetic. This is known as a “bone check”.
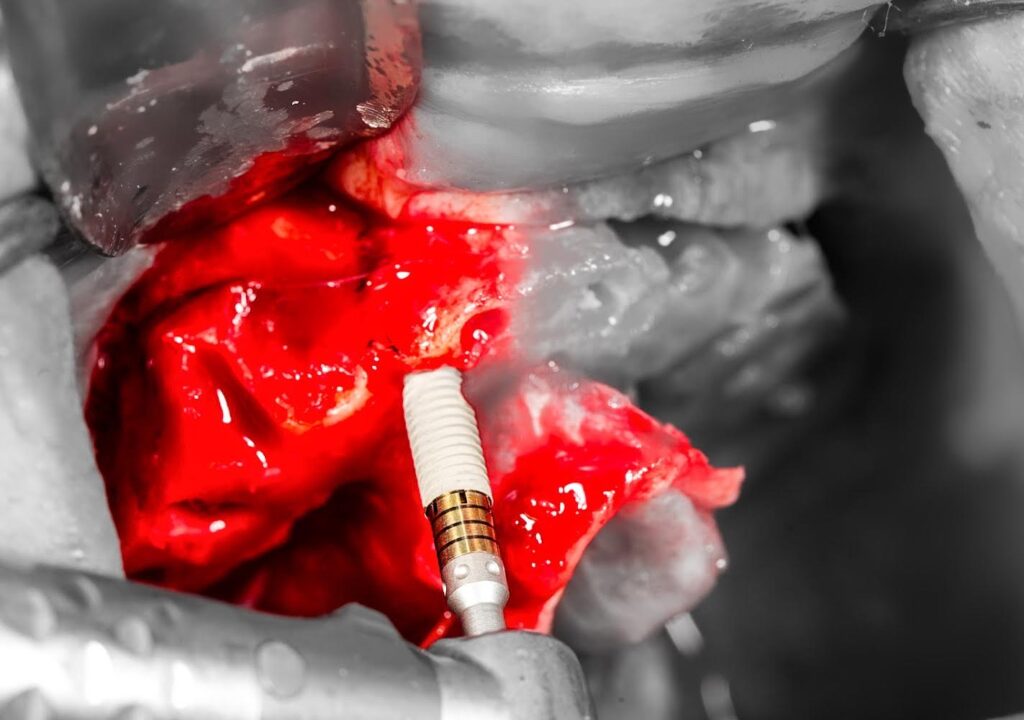
3. Implant Placement (10 Minutes )
The 4 planned osteotomies are created and implants are placed and torque to their final desired position.
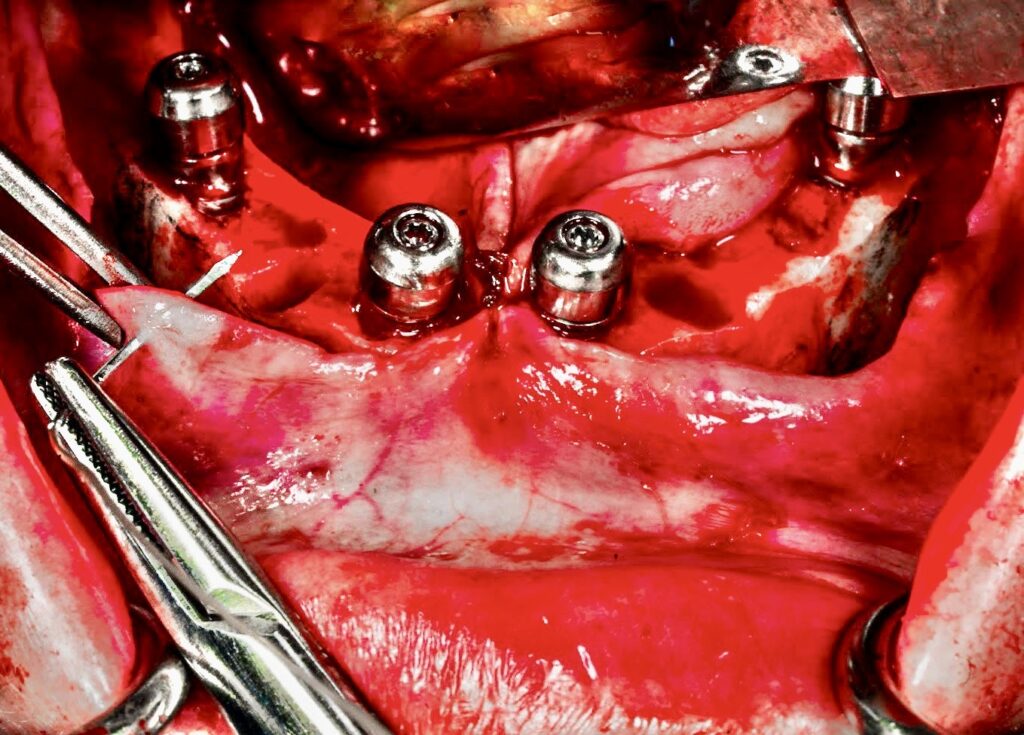
4. Abutment Placement w/Abutment Check (10 Minutes )
Abutments are placed and “fine-tuned” as necessary. In order to complete this portion of the procedure efficiently, you need to have a predictable and reproducible system for ensuring your abutments are on point. If you aren’t confident about your abutment placement, read more here about how to get your abutments on the money.
During this 10 minute segment, my restorative colleague is also returning to the operatory to confirm clinically that they are happy with the placement and angulation of the abutments. If an abutment needs to be adjusted or changed, it’s done at this time, with the prosthodontist in the room.
5. Closure (10 Minutes)
Now we are on the home stretch. The remaining 10 minutes are utilized for closure. I do slow down, and utilize this whole 10 minute period. I want to ensure that the tissue is closed primarily at all sites, laying flat, and is well approximated around all abutments.
6. Miscellaneous Buffer (10 Minutes)
I have built in an extra 10 minute buffer for the administration of both pre-op and post-op local anesthesia, as well as for things such as the application of PRF or graft material when indicated.
This “buffer” also helps offset things like an instrument that might be have been dropped and needs to be replaced, an implant size that wasn’t in the room, and well… because for some reason, things just don’t always go as planned.
When I break the All-On-X procedure down into 10 minute segments, it all of the sudden appears to be a very manageable surgery.
When I focus on any one of these segments in isolation, the 10 minute performance goal is achievable, while also allowing me to maintain the highest level of surgical quality.
By performing a high caliber surgery, at small 10 minute efficiency intervals, I am able to consistently complete my traditional AOX arches in 60 minutes or less.
This mindset also helps prevent me from becoming overwhelmed during the course of a difficult surgery. I’m not worried about the whole case – I’m only focused on the 10 minute segment I’m in at that time.
Here’s to focused efficiency and mental preparedness.
If you haven’t found out already, AOX surgery will demand both…
Matthew Krieger DMD
Hey Dr. Krieger, how do you or your prosthodontist measure bone check? Visually, reduction guide, massad lip ruler? I usually end up doing more than needed to error on the “safe side” and I think I am too aggressive.
Hi Marina,
The prosthodontist completes a pre-operative work up which includes the planned reduction numbers, measured from the incisal edge of 3 selected teeth (if the patient is completely edentulous it’s taken from the alveolar crest).
Then intra-operatively, there are two primary ways we check bone reduction.
1. I use the selected teeth to mark my reduction line AND to check the reduction AFTER it is completed. This article shows exactly how that is done.
2. We also utilize a VDO gauge intra-operatively to ensure that that the post-reduction VDO matches the planned post-operative VDO.
Hope this helps!
Hi, Dr Krieger! Love the blog…lots of gems! So thank you! Can you please speak to how you use the VDO gauge intra-operatively?
Hi Bolanle,
I have an upcoming article that will discuss this exact topic! So stay tuned!!
It does, thank you for your blog and the podcast with SP, I am learning a lot
That’s great to hear!
Pingback: 5 Reasons Practitioners Get Frustrated with Full-Arch Surgery - AOX Surgery