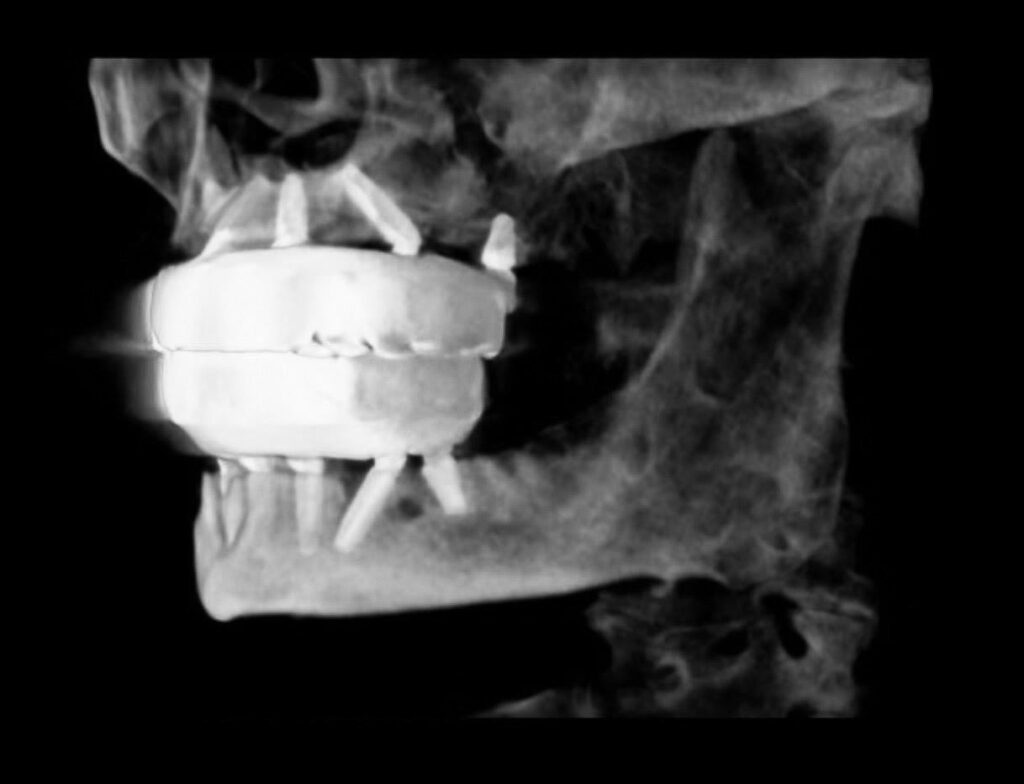
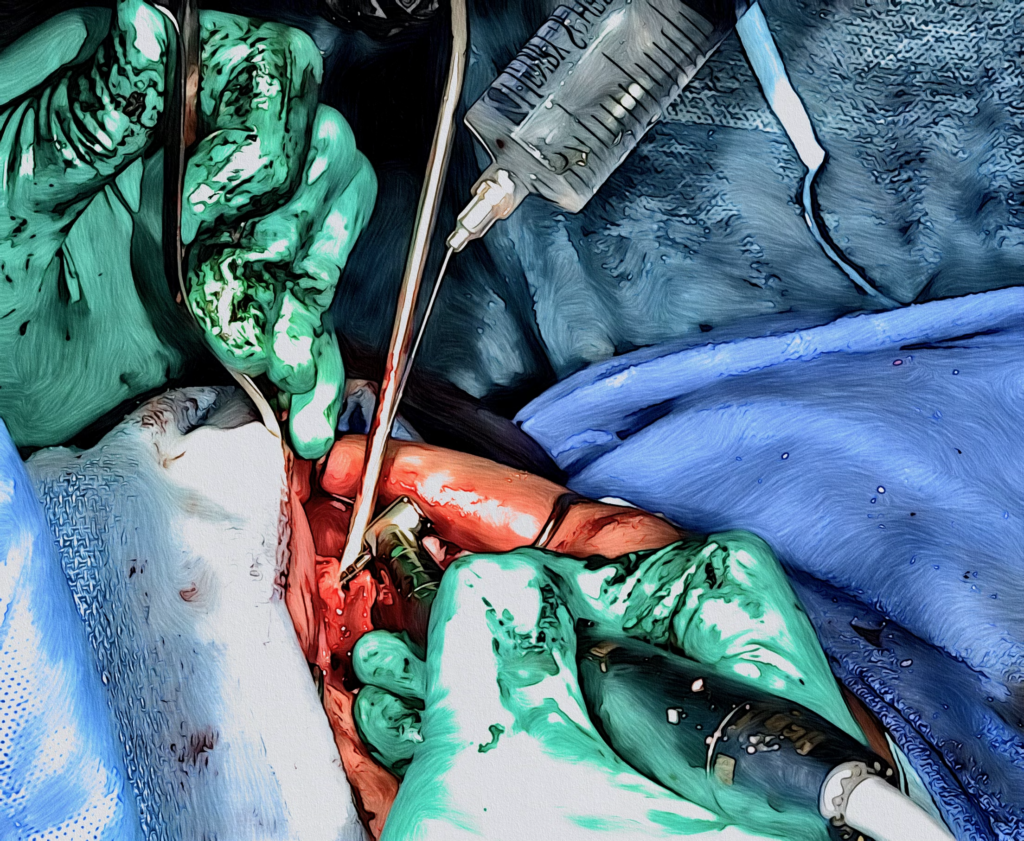
I love efficiency! But there is one time during my All-On-X surgery where I slow down significantly.
During the drilling of my implant osteotomies I drill at a speed well below what the manufacturer recommends and at much lower RPM values than most practitioners.
I feel that this “Low RPM Osteotomy Technique” provides some significant advantages relative to All-On-X surgery.
Before we dive into what those advantages are, let me give you an idea of the speed at which I’m actually drilling my implant osteotomies.
My average RPM drill speeds are listed below.
Maxilla: ~200-400 RPM (Standard Recommendation: 500-800 RPM)
Mandible: ~400-800 RPM (Standard Recommendation: 800-1,200 RPM)
Yes, I will drill at higher speeds in very dense cortical bone such as the anterior mandible (up to, but not higher than 1,100 RPM). The speeds listed above are simply averages to give you an idea of what I’m referring to in this article.
Ok, so why drill like the tortoise and not the hare? Let’s take a look.
![]()
![]()
6 Benefits of The Low RPM Osteotomy Technique
Drilling Slowly…
1. Prevents overheating of the bone at your osteotomy site.
Ok…this is an obvious one. But I couldn’t not say it.
Now theoretically as long as you are irrigating adequately and not drilling above the manufacturer’s recommended RPM settings, you should be ok.
But drilling slightly slower further limits the chance of overheating the bone. This gives me peace of mind.
2. Allows you clear visualization of the depth markings on your drill for accurate drilling depth.
When you are rotating the drill at 1200 RPM, I have no idea how you can accurately gauge your depth??
I for one cannot see the drill markings at a precise level when the drill spins that fast.
And if you tell me you can… well… I guess I’ll believe you. At that speed, in my opinion, it’s a guess at best.
This is ok for single implant placement where you often have a lot of available bone protecting you from vital structures.
However, in AOX surgery I am often working 1mm or less from the inferior alveolar nerve canal, the mental foramen, the sinus or the nasal floor and I need to know my depth exactly.
The only way I can know my exact depth is by drilling slowly. A low rotational speed allows me to clearly see the depth indicators on the drill and to know the exact depth at which my drill is being placed.
The video below highlights anterior maxillary osteotomies with a drill speed slow enough that I can accurately visualize the depth indicators while the drill is rotating.
3. Provides enhanced tactile sensation, enabling you to feel a bony perforation into an unwanted anatomical space.
Tactile sensation in AOX surgery is absolutely vital. You will consistently work around multiple anatomic structures that you typically do not want to violate:
- Maxillary Sinus
- Nasal Cavity
- Inferior Alveolar Nerve Canal
- Lingual Concavity of the Mandible
- Inferior Border of the Mandible
One of the best ways to ensure you do not violate these anatomic structures is being able to feel a bony stop while you drill. And yes, this is just as important in guided surgery.
With a slow drill speed I am able to actually feel a bony stop – from starter drill to final drill – along the entire path of the osteotomy. This ensures my osteotomy course is correct.
If at any point I feel an unexpected “drop” or loss of bony contact, I know I am not where I am supposed to be.
When drilling at 1200 RPM or greater it is often difficult to feel a bony stop. The speed of the drill diminishes your tactile sensation. Therefore, you do not notice the change that occurs when you have that “drop” into one of the anatomic spaces listed above.
By utilizing a lower RPM, you can maintain the tactile sensation of a bony stop while drilling, as well as notice the “drop” and loss of bony contact should it occur.
This early detection will allow you to course correct your implant trajectory as necessary and ensure your implant placement is in an optimal position.
The video below highlights a posterior mandibular osteotomy. The speed is slow enough to visualize the drill depth indicators as well as feel a bony stop. Note that RPM values will increase as the drill encounters more cortical bone at the apex of the osteotomy.
4. Allows you to see the depth of a perforation if it does occur.
If extension into an unwanted anatomic space does occur, The Low RPM Osteotomy Technique allows you to actually see the depth marker on the drill where this tactile “drop” occurred.
If you are drilling at a high RPM it is not only difficult to feel this “drop”, but it is next to impossible to see where on your drill depth indicators this occurred.
Why is this important?
If you know at exactly what length your drill unintentionally lost a bony stop, you can make an educated and precise decision as to the next best step.
If you cannot see where along your osteotomy this occurred, then it’s simply a guess. You can easily be a few millimeters off – which is significant in AOX surgery.
For example, if you are drilling a planned 13 mm osteotomy at 300 RPM at site #7 and feel an unexpected drop into the nasal cavity, you can visualize that the drop happened at 11.5 mm (Neodent drill markings). You can then easily adjust your implant size for insertion from 13 mm to 11.5 mm to avoid extension through the nasal floor.
If you are drilling at 1,200 RPM, you cannot actually see where the drop occurred (if you do feel it at all). You can attempt to palpate with a perio probe, but beyond confirming that there is a perforation, it is now very difficult to pinpoint the depth of the perforation.
The Low RPM Osteotomy Technique gives you superior visualization and feedback of drill depth and allows for precise decision making intra-operatively.
5. Enables you to indirectly lift the sinus membrane during palatal root implant placement.
This may be my favorite and most utilized benefit of The Low RPM Osteotomy Technique.
I love to place palatal root implants to improve spread and eliminate cantilevers.
Drilling at a very slow speed while creating the palatal root osteotomy helps simultaneously tent up the bony floor and elevate the sinus membrane.
I typically drill at around 50 RPM or less and this almost always ensures the sinus membrane remains intact. In my hands, this slow rotational speed is effective when up to a 3 mm elevation of the membrane is required prior to palatal root implant placement.

6. Provides you a better tactile understanding of the bone density.
It is not difficult to feel the difference between very soft bone and very dense bone.
It is difficult, however, to be able to feel the difference between type II and III bone… and all the variations in density in between.
Being able to appreciate small differences in bone density allows you to make real-time adjustments to your drilling protocol and implant sizes, simply by how the starter drill feels in the bone.
By using The Low RPM Osteotomy Technique I am able to have maximal tactile sensation of the bone quality during the use of my starter drill.
Based on this tactile feedback, I plan how much I am going to prep or under-prep with subsequent drills and confirm or adjust my final implant sizes. It is my goal to have all of this information calculated by the time I finish my starter drill.
This enhanced ability to feel the slightest differences in bone density and adjust my drilling plan accordingly, allows me more predictable torque and the ability to consistently load my AOX cases.
This is only possible with the improved surgical feel and feedback that The Low RPM Osteotomy Technique provides.
P.S.
If you’re wondering why you haven’t heard of The Low RPM Osteotomy Technique… it’s because I made it up.
But hey, I like it and I use it every day.
Go ahead, take this technique for a spin – a slow spin.
Matthew Krieger DMD


Pingback: Arch Goals: A Master Guide to Your First 1000 Arches - AOX Surgery
Pingback: The Benefits of A Tapered Implant in AOX Surgery - AOX Surgery
Can you explain your process for palatal root implants? Are you always lifting the sinus or sometimes able to put the entire implant into the socket? I’ve never lifted the sinus using 50rpm with my drill. Just wanted to see what your process was.
Thanks!
Hi RP –
Please check out today’s article – “The Perks of a Palatal Root”!
https://aoxsurgery.com/the-perks-of-a-palatal-root/
Thanks!
Can you please clarify on the tools you use for alveoplasty. Looks PERFECT
Hi Marina,
I do my initial “bulk” reduction with a double action rongeur. I then smooth/level the bone shelf with a barrel bur. I do take extra time and intention to ensure the shelf is as level and flat as possible.
Here’s a list of my instruments.
Matt
For using your barrel bur for final contouring of the ridge, what rpm do you run at? The other question, for the posterior mandibular osteotomy video, I’m assuming your just increasing the foot pedal pressure with the increase in rpm of your burr when feeling a hard boney stop?
Thank you so much for your newsletters! Great info!
Hi Austin,
1. My Barrel Bur runs at the same RPM as I do my 703 bur. This is at 50,000 rpm on a 1:2 handpiece.
2. You are correct. During osteotomy preparation my drill is set to 1100 rpm. I rarely depress the pedal “fully” but adjust w/foot pressure how much or how little I want to use of that 1100 rpm based on the tactile feedback/density of bone felt during preparation.
Thanks!